How to Create a Password Protected Screen Recording
Secure your screen recordings with password protection to ensure only authorized viewers can access your content.
What is Password Protection?
Password protection is a security feature that allows you to add a password to your screen recordings. When someone tries to view your recording, they'll need to enter the correct password first. This is perfect for sharing sensitive information, confidential presentations, or private tutorials.
Create Your Screen Recording
First, create your screen recording as you normally would:
- Go to zensnap.io/record-video
- Select what you want to record (window, tab, or full screen)
- Configure your audio settings (microphone, system audio, etc.)
- Click the record button and capture your content
- Stop the recording when you're finished
Navigate to Your Video Page
After finishing your recording, you'll automatically be redirected to the video player page. This is where you can view, download, and share your recording.
If you're logged in, you can also access your recordings from your Dashboard at any time.
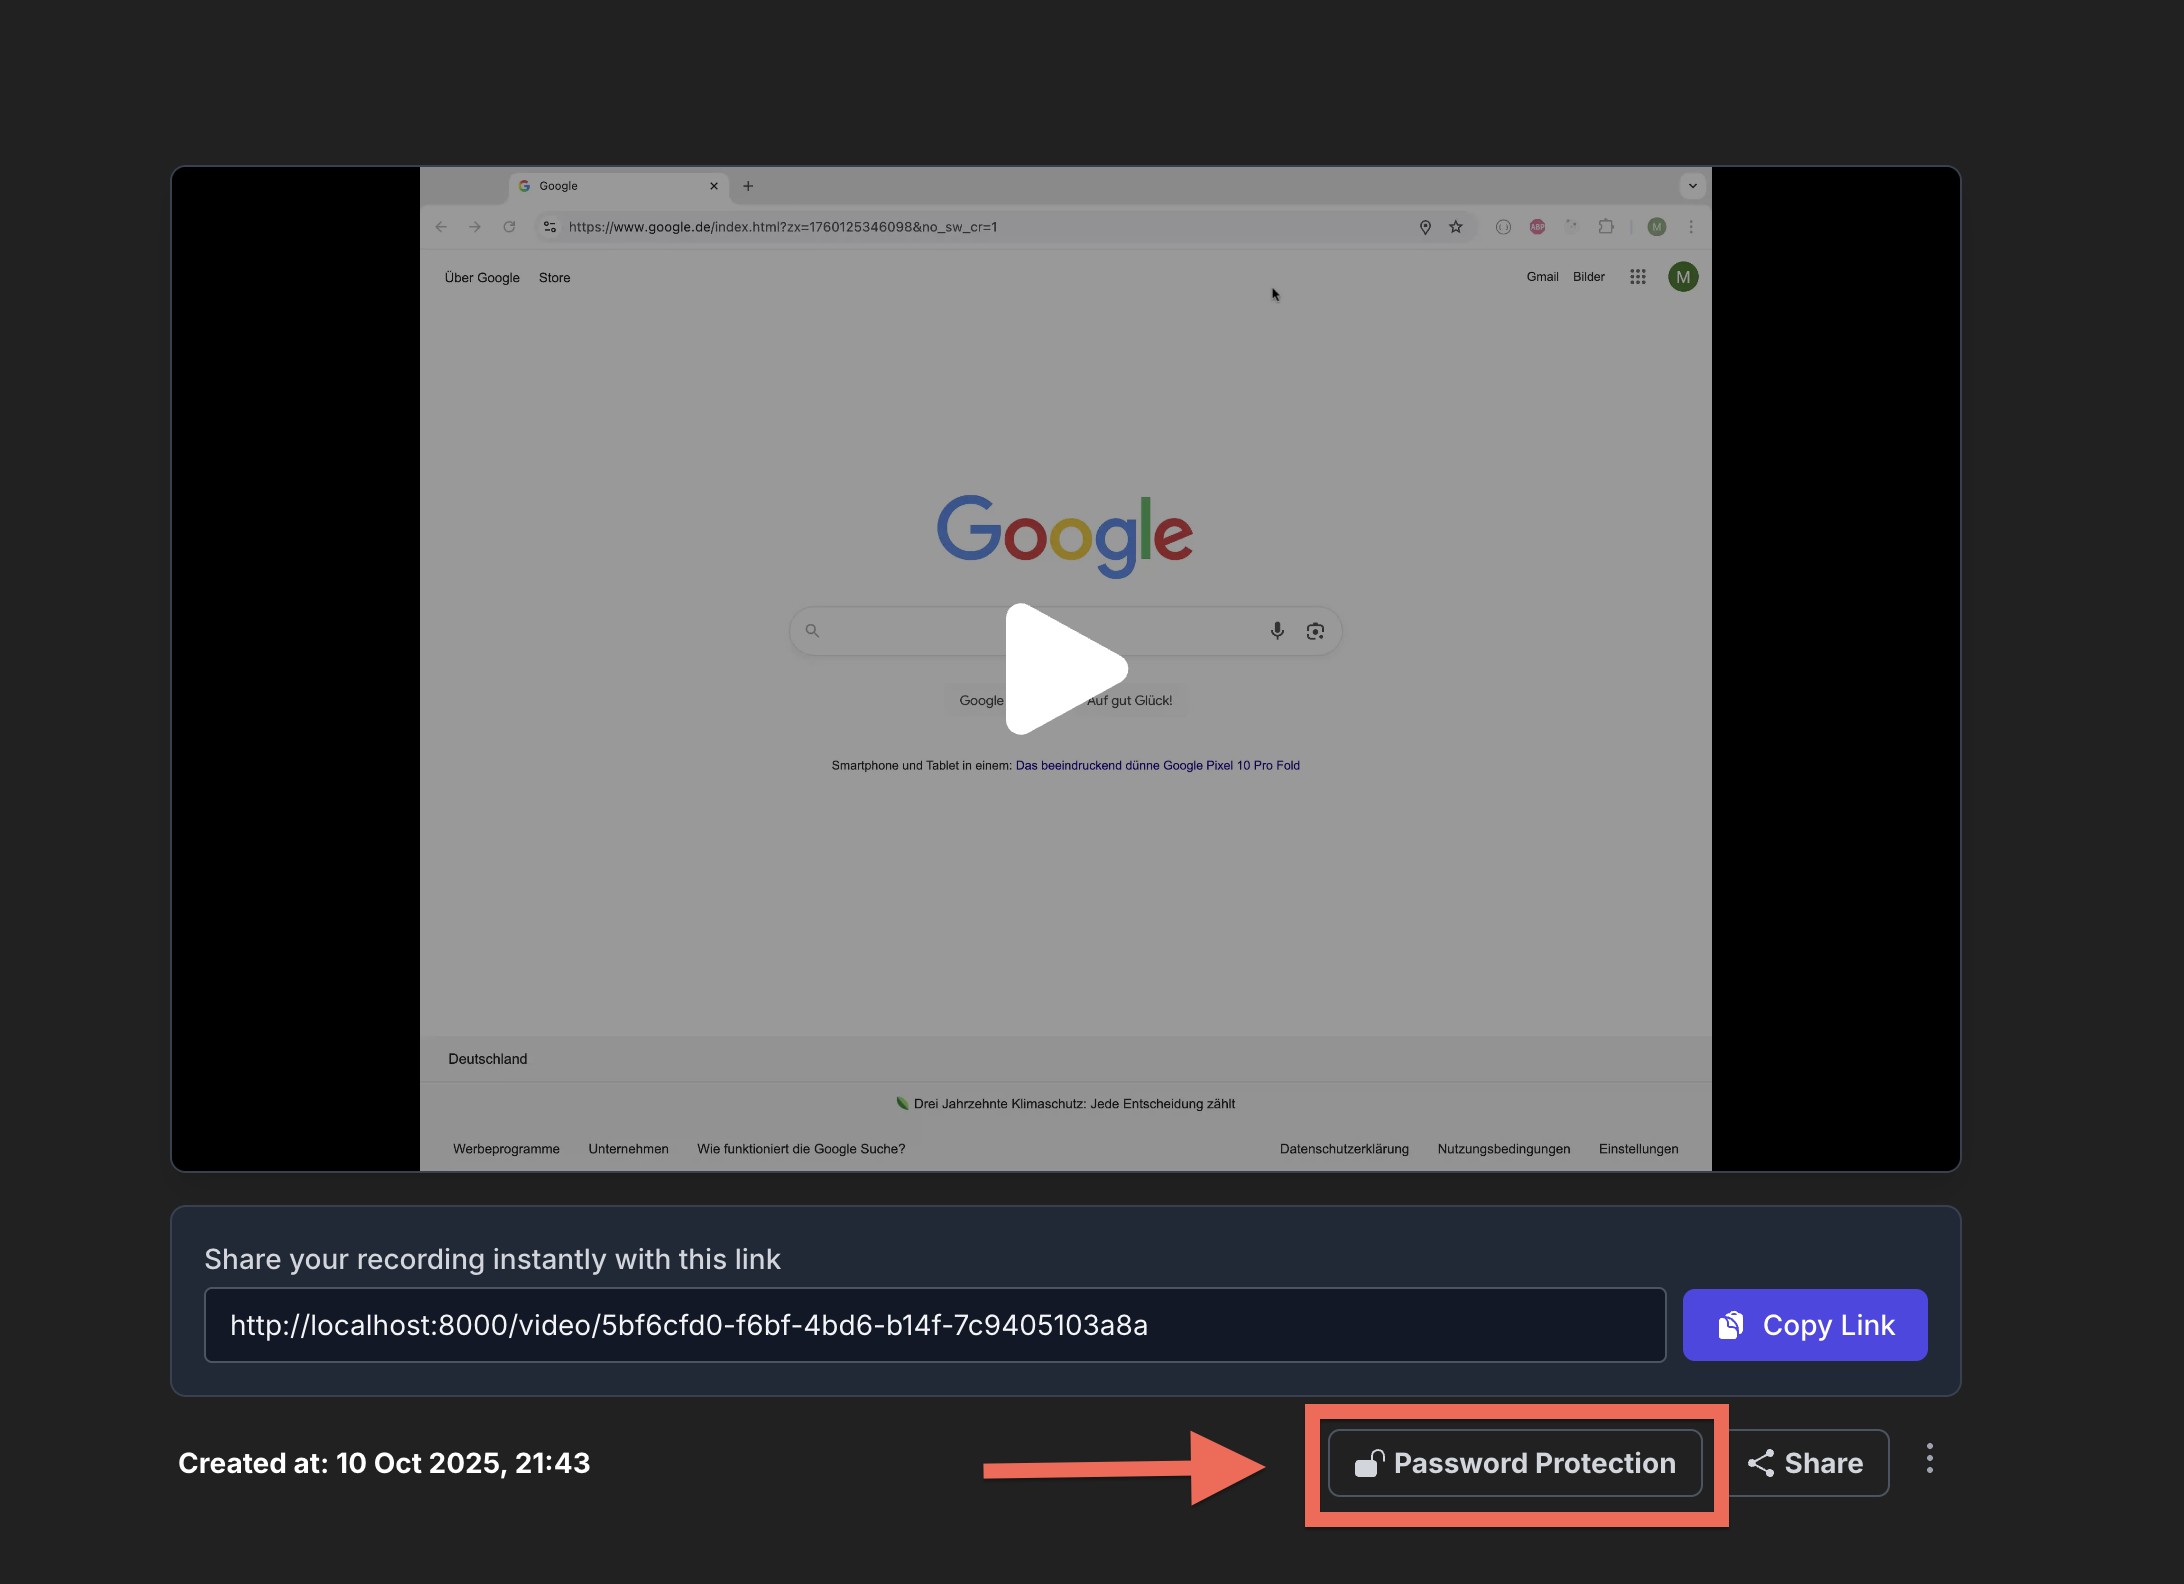
Open the Password Protection Dialog
On the video player page, look for the lock icon or "Password Protection" button. Click it to open the password protection dialog.
Note: You must be logged in and be the owner of the recording to add password protection.
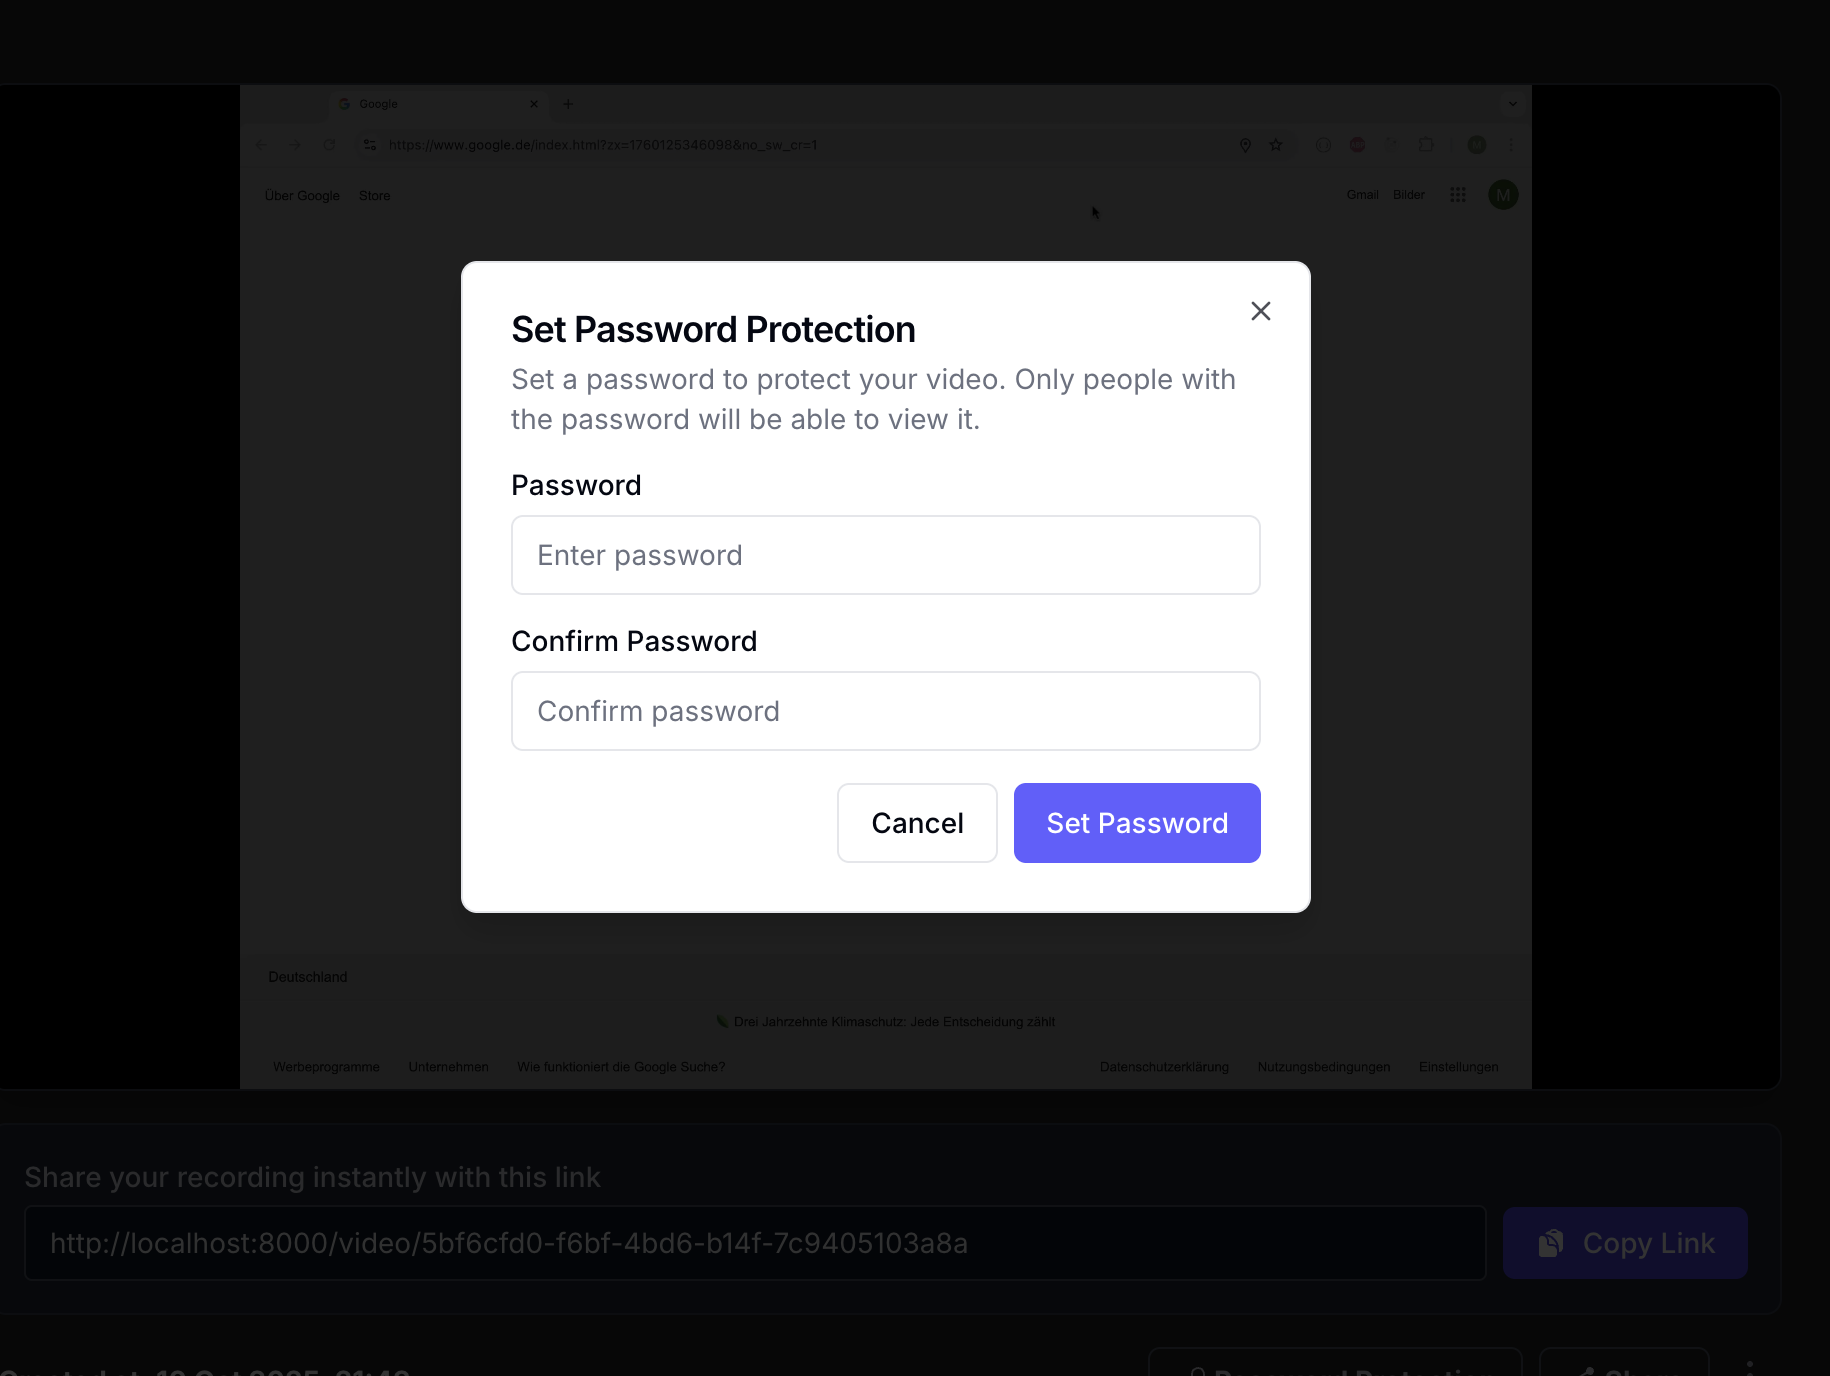
Enter Your Password
In the password protection dialog, enter a secure password that viewers will need to enter to access your video. Please note: The password must be at least 4 characters long.
Password Tips:
- Use a strong, unique password
- Make it memorable enough to share with authorized viewers
- Consider using a passphrase for better security and memorability
- Don't reuse passwords from other accounts
Save the Password
Click the "Set Password" button to apply password protection to your recording. You should see a confirmation message that the password has been set successfully.
Once the password is set, a lock icon will appear on your video indicating it's protected.
Share Your Protected Recording
Now you can share your video link with confidence. When someone opens the link, they'll be prompted to enter the password before they can view the recording.
Make sure to share the password with authorized viewers through a secure channel (like a separate message or encrypted chat).

Managing Password Protection
Changing a Password
To change an existing password, simply open the password protection dialog again and enter a new password. The old password will be replaced.
Removing Password Protection
If you want to remove password protection and make your video accessible without a password, look for the "Remove Password" option in the password protection dialog.
Forgot Your Password?
As the video owner, you can access your recording from your Dashboard and change or remove the password at any time, even if you've forgotten the current password.
Frequently Asked Questions
Can I add a password to an existing recording?
Yes! You can add password protection to any of your recordings at any time, as long as you're logged in and you're the owner of the recording.
Is password protection available for free accounts?
Password protection is available to all registered users. You'll need to create a free account to use this feature.
How secure is the password protection?
Passwords are securely hashed and stored. Only the correct password will grant access to the video. We recommend using strong, unique passwords for sensitive content.
Can viewers see my password?
No. Passwords are never displayed to viewers or stored in plain text. Once you set a password, it's securely encrypted.
What happens if someone enters the wrong password?
They'll see an error message and be prompted to try again. The video will remain protected and inaccessible without the correct password.